Apologies for starting a new thread so soon after resolving the first – I’m finalizing the design for my updated website, but I was running into trouble hiding some of the buttons (specifically the stories button, the view a random story button, and the homepage map).
You originally shared the below custom CSS with me for the older curatescape theme, but I was wondering if you had any thoughts on how to apply it for the updated theme?
I originally tried to keep the older curatescape theme as an easy fix for this, especially since I really liked the design for featured tours on the homepage, but it looks like the geolocation plugin isn’t compatible with that version.
In the new theme, there is a built-in option to hide the “quick links” (i.e. the big “stories” and “tours” buttons). See Appearance > Theme Options > Navigation.
To hide the “random” button, you could use something like…
It does! I think the only other outstanding question I had was about the map function, since it still seems to show up whenever you search for any item (I was hoping to keep map views limited to each tour, but I understand as well if this isn’t possible).
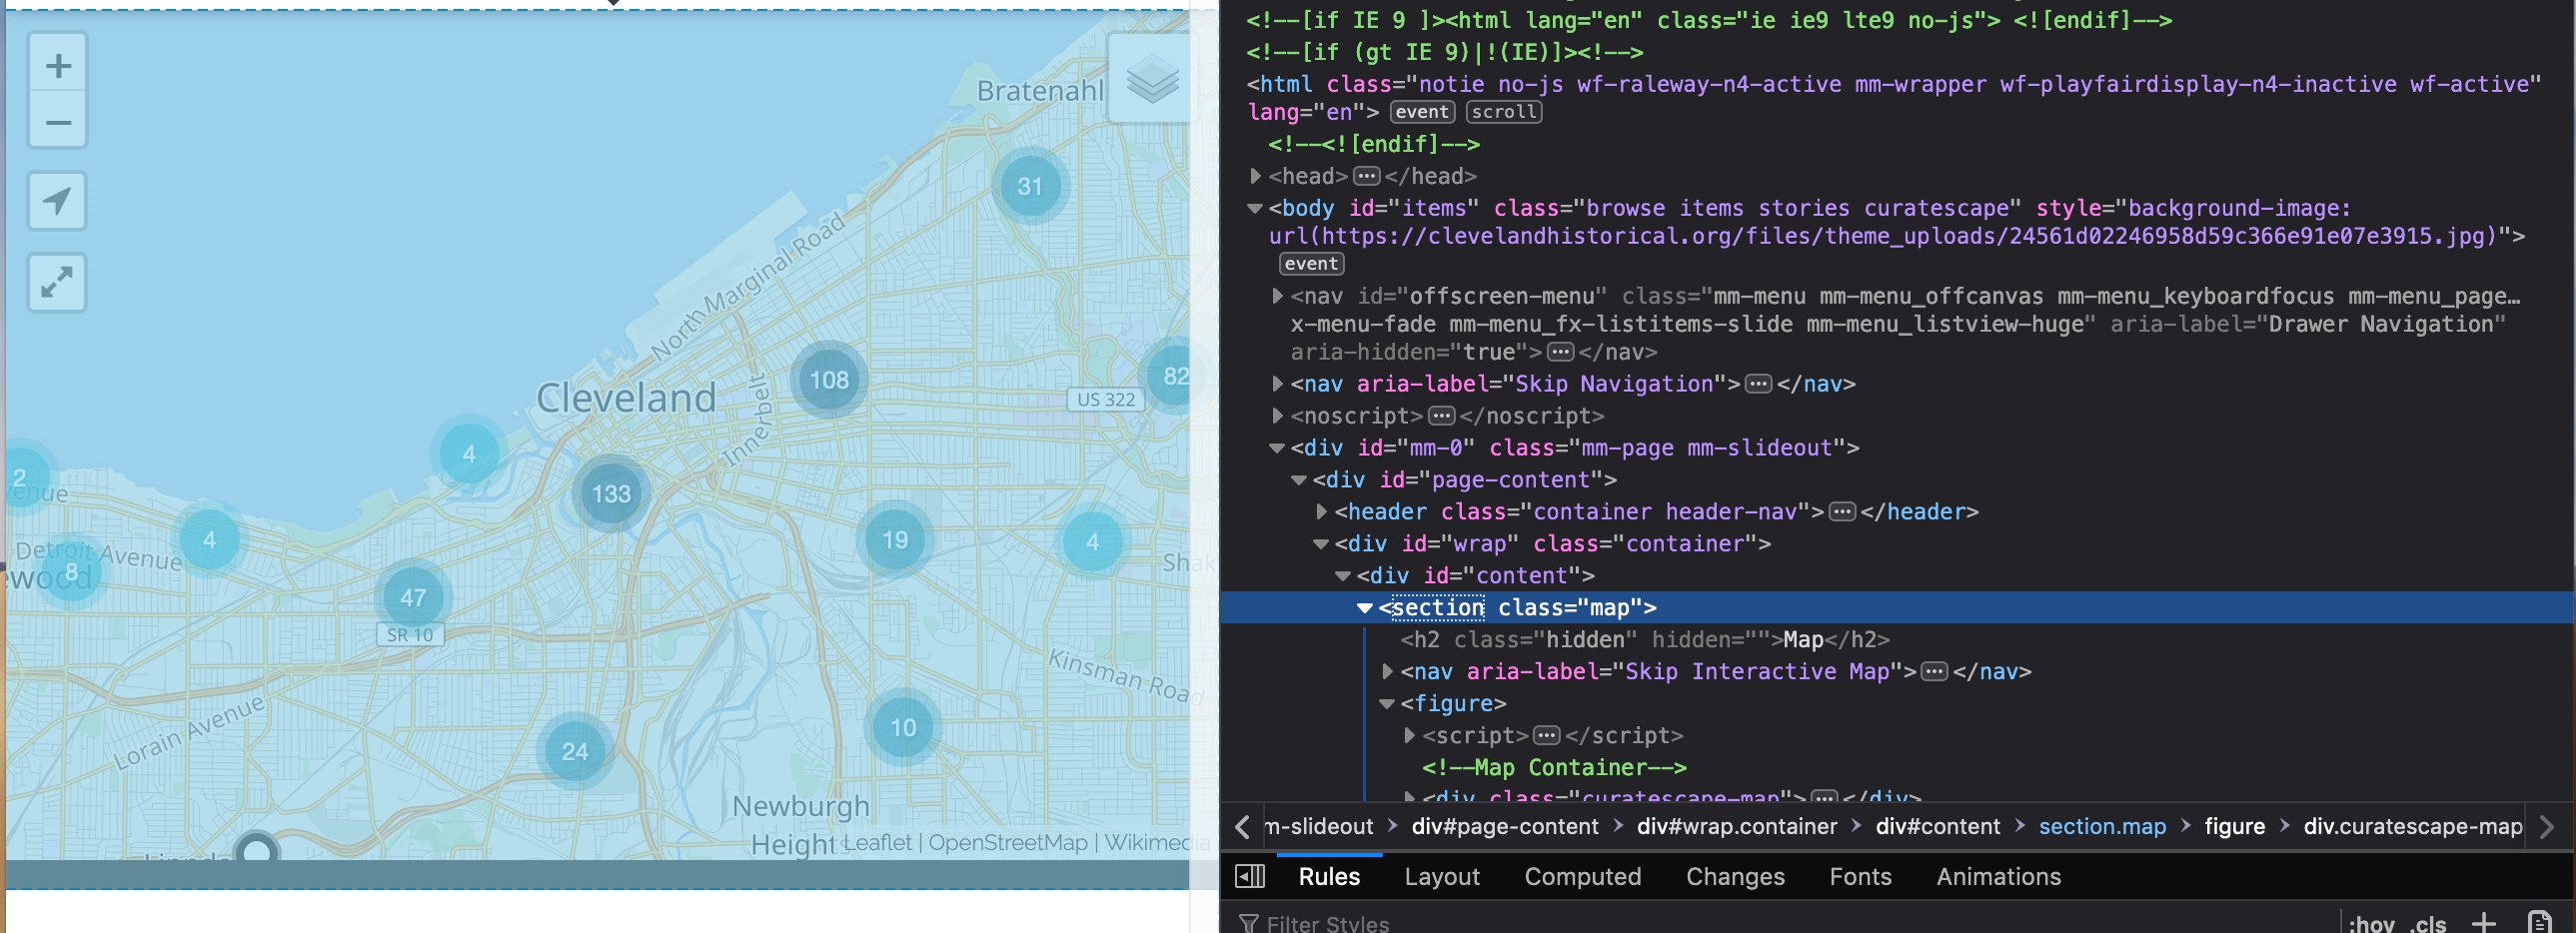
If you need to do a lot of visual customizations, I’d suggest learning how CSS works. The simplest tip is to use your browser’s web inspector/developer tools. You may need to enable developer tools in your browser’s preferences/options. Once enabled, you can right-click to inspect an element, navigating through the HTML markup and seeing how each element is styled with CSS. See screenshot below…
In the case of the map, it’s always going to be a section with the class “map” so the CSS selector is always going to be section.map – section is the HTML element and the element’s class is denoted with a dot ( . ). When you hid the map on the homepage you used a more specific selector – #home section.map – because the map on the homepage is nested inside an element with the id “home” (which is the id for the HTML body element) – ids are denoted with a pound sign ( # ). So to hide the map only on the browse page, you’d need to do the same thing, but using the id for the body element on that page, which is “items” … but the items/show page also has that same id so you need to be more specific and include one of the body element’s classes as well (like “browse”), so…
#items.browse section.map{
    display:none;
}
Try fiddling with some of the existing CSS rules in the web inspector to get a sense of how things change. You’ll be the only one who can see those changes (unless you copy them over to your Omeka site), so it’s a good place to try things out and see what works.